2. Basic Operation
Last updated Jul 5, 2026, 12:14:05 PM by just.jiu
Rod Control Matrix
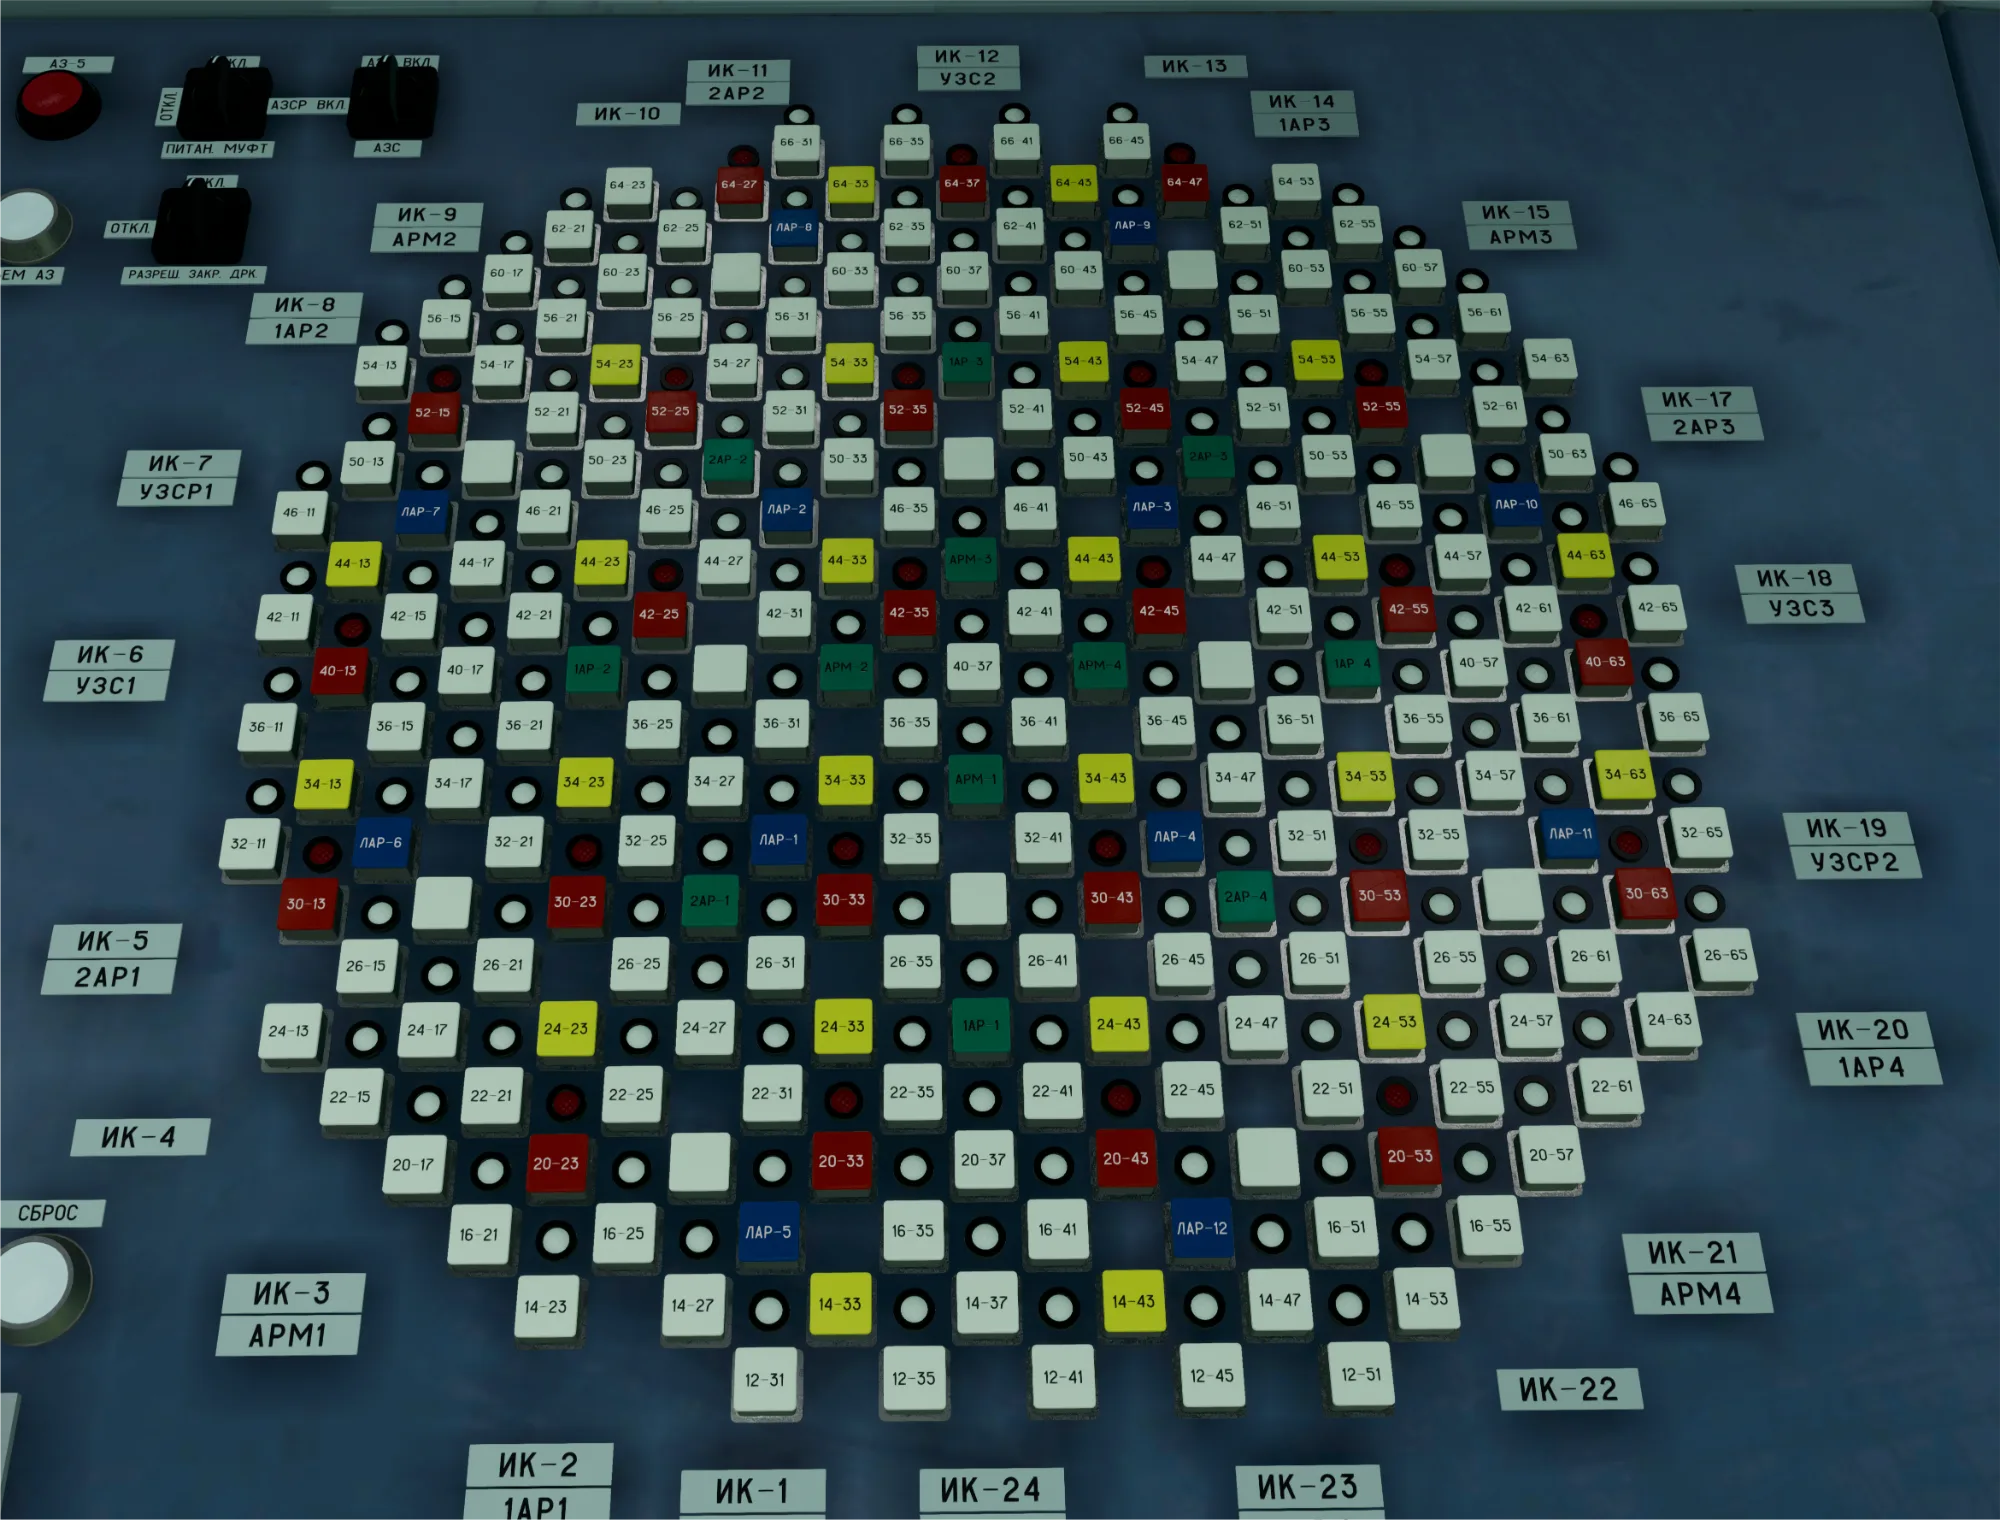
The Rod Control Matrix is your primary interface for operating the control rods by hand. Each button on the matrix is one rod; its color tells you what kind of rod it is and how it behaves.
Rod Types (by color)
- White — Manual (RR) rods. Controlled entirely by you. These are your main tool for shaping where power is concentrated across the core, and for adjusting your overall reactivity margin.
- Yellow — USP rods. Also operator-controlled, but they insert from the bottom of the core instead of the top. Because of that, withdrawing a USP rod means moving it downward.
- Red — AZ emergency-protection rods. Part of the scram system. They must be withdrawn to their upper positions before any other rods are allowed to move — think of it as arming the reactor.
- Green — Automatic Regulator (AR) rods. Each automatic regulator drives a cluster of four rods in a circular pattern. When the AR is engaged, these rods move on their own to hold your target power. Disengage the AR and you can drive them by hand.
- Blue — Local Automatic Regulation (LAR) rods. Like the AR, but each rod answers to its own local logic, reacting to conditions in its immediate zone of the core rather than the reactor as a whole. This is what keeps power evenly distributed, not just at the right total.
- White (Selsyns) — PK-AZ and LAZ rods. Shared between two protection logics that work alongside the AR and LAR systems to keep the power distribution stable across the core.
Manual Rod Control
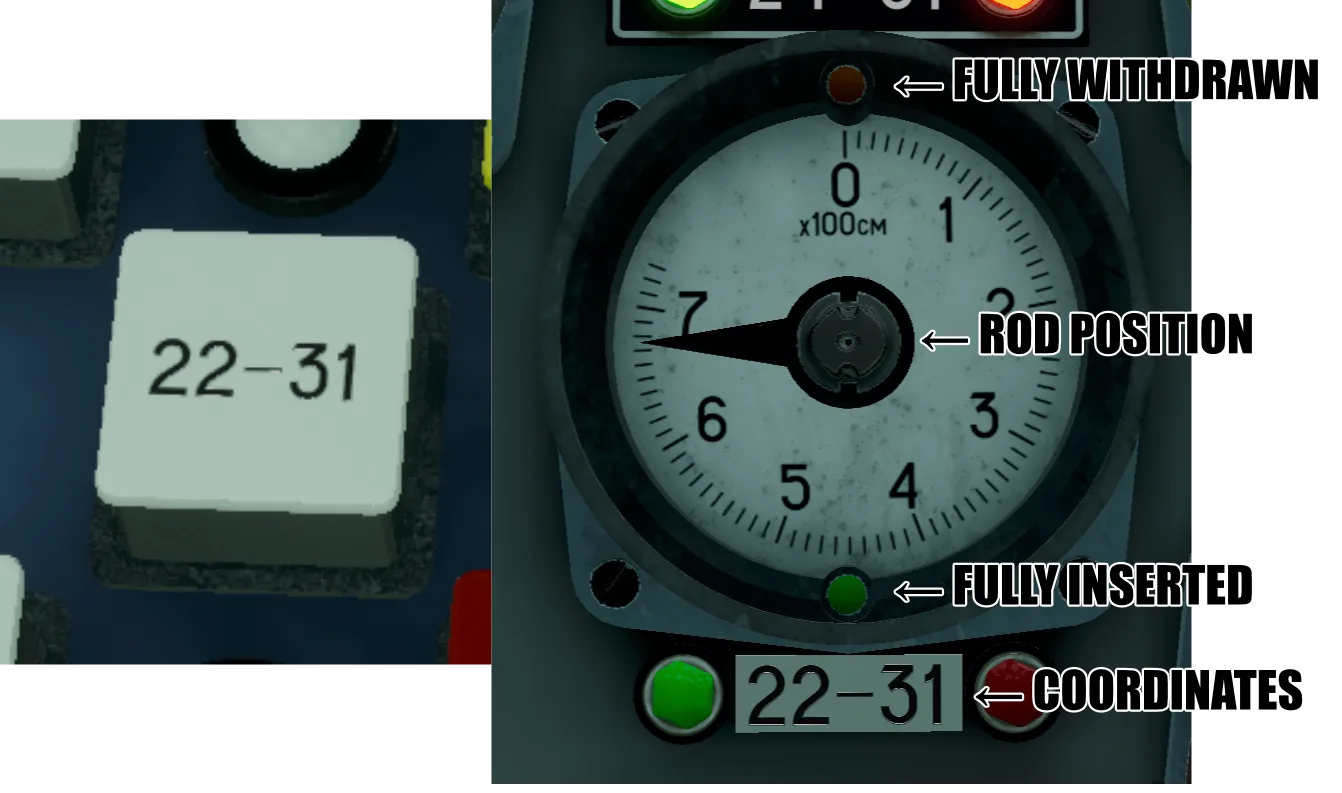
Rods are driven from the Rod Control Matrix on panel 4A. Select a rod by pressing its button, then insert or withdraw it with the lever or the UP / DOWN arrow keys. To deselect, press the white button above the lever or tap the LEFT arrow.
Each rod has one selection button and one Selsyn — a dial that shows the rod's current depth in the core. Read the Selsyns to know where your rods actually are before you move them.
Alarms and Acknowledgement
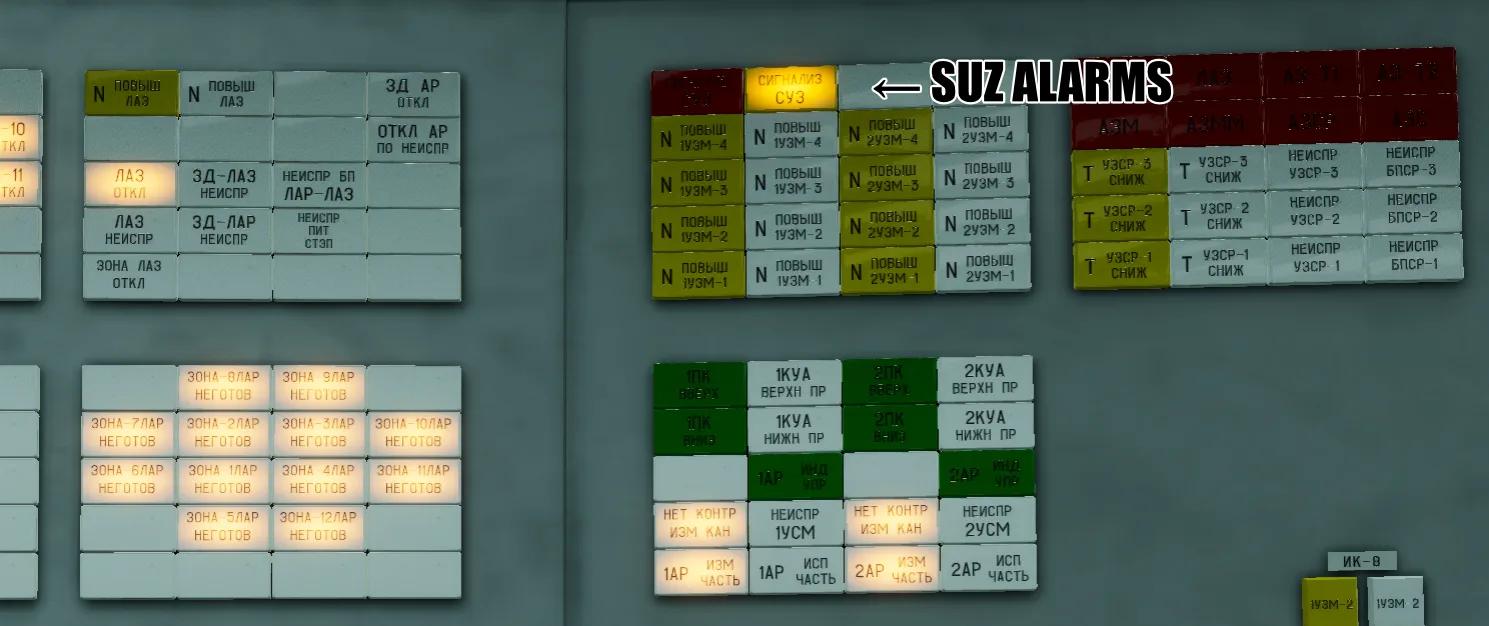
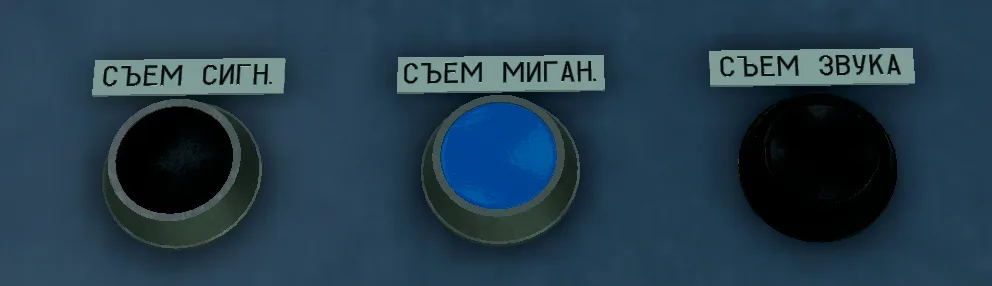
When something changes in the reactor or its systems, the alarm panel warns you with lights and sound. Alarms never clear themselves — you must acknowledge each one using the buttons on panel 3A or the Z, X, and C keys.
The Three Acknowledgement Actions
These work independently — handling one does not handle the others:
- Audio (C key) — silences the audible alarm tone. The lights stay as they are.
- Flash (X key) — stops the white annunciator lights from blinking. They stay lit until the underlying cause is actually resolved.
- Signal (Z key) — clears emergency (red) and warning (yellow) signals — but only after their cause has already gone away. You cannot dismiss a live alarm with Z; fix the fault first, then clear the signal.
AZ signals (AZ-1, AZ-2, AZ-3, AZ-5) are the exception: they stop blinking on their own once their triggering condition clears, and can be acknowledged with Z only after that point.
Signal Severity (two tiers)
The two severity tiers each light their own SUZ status indicator:
- Attention signals (white) raise the SUZ Warning indicator.
- Warning signals (yellow) raise the SUZ Emergency indicator.